Guide
Smelter Throughput Guide: The Six Ratios That Actually Matter
Four of the community's standard belt ratios became wrong after the logistics rework. We measured every intermediate stage across three saves and corrected them.
A surprising amount of guide content on the internet is copied from a wiki that was correct two patches ago. Everything here was tested in a live save, and the patch version sits at the top of the page.
Guide
Four of the community's standard belt ratios became wrong after the logistics rework. We measured every intermediate stage across three saves and corrected them.
Guide
Three of the nine bosses can be taken far earlier than the game implies, and doing so removes the hour-fourteen wall almost entirely. Full route with the stat thresholds we tested.
Guide
Two hundred and ten logged runs, sorted by opening draw and terrain. The consensus best start is only third once you account for the weather roll on the second map.
Guide
Terrain slope now affects snapping, which broke a lot of cliff bases. We rebuilt three designs from scratch and documented which foundations still work.
Guide
The default advice is to run naked until you learn the maps. That is wrong after the insurance change. Here is what we actually took in, and what it cost per raid.
Guide
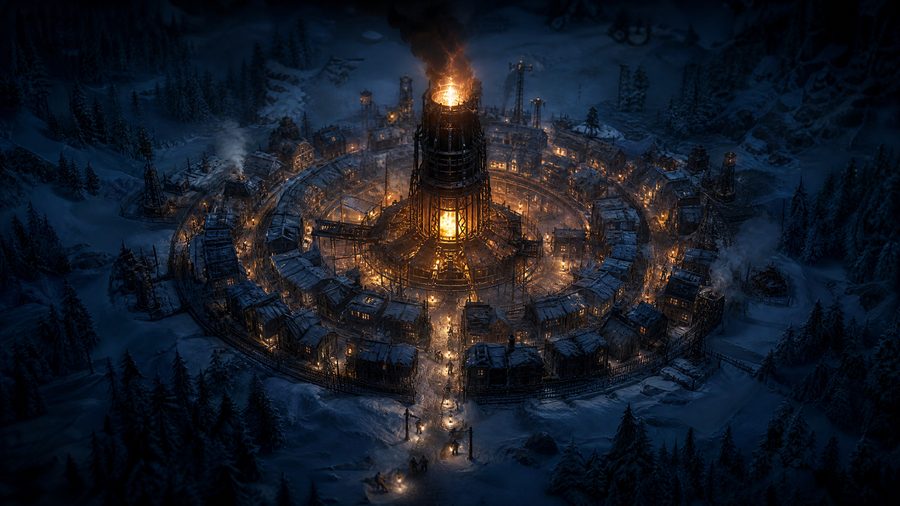
Radial, spiral and grid layouts measured over forty in-game days each. The spiral looks clever and costs eleven percent more fuel, and we can show you exactly where it leaks.
Guide
Most movement guides teach a trick. These teach a habit. Six drills, each under four minutes, tested against our own match statistics over three weeks.
Guide
The game gives you three reliable environmental signals and one that lies. Learning the difference cuts a typical crossing by roughly twenty minutes.